Steps
1. Select feature from the drop-down menu.
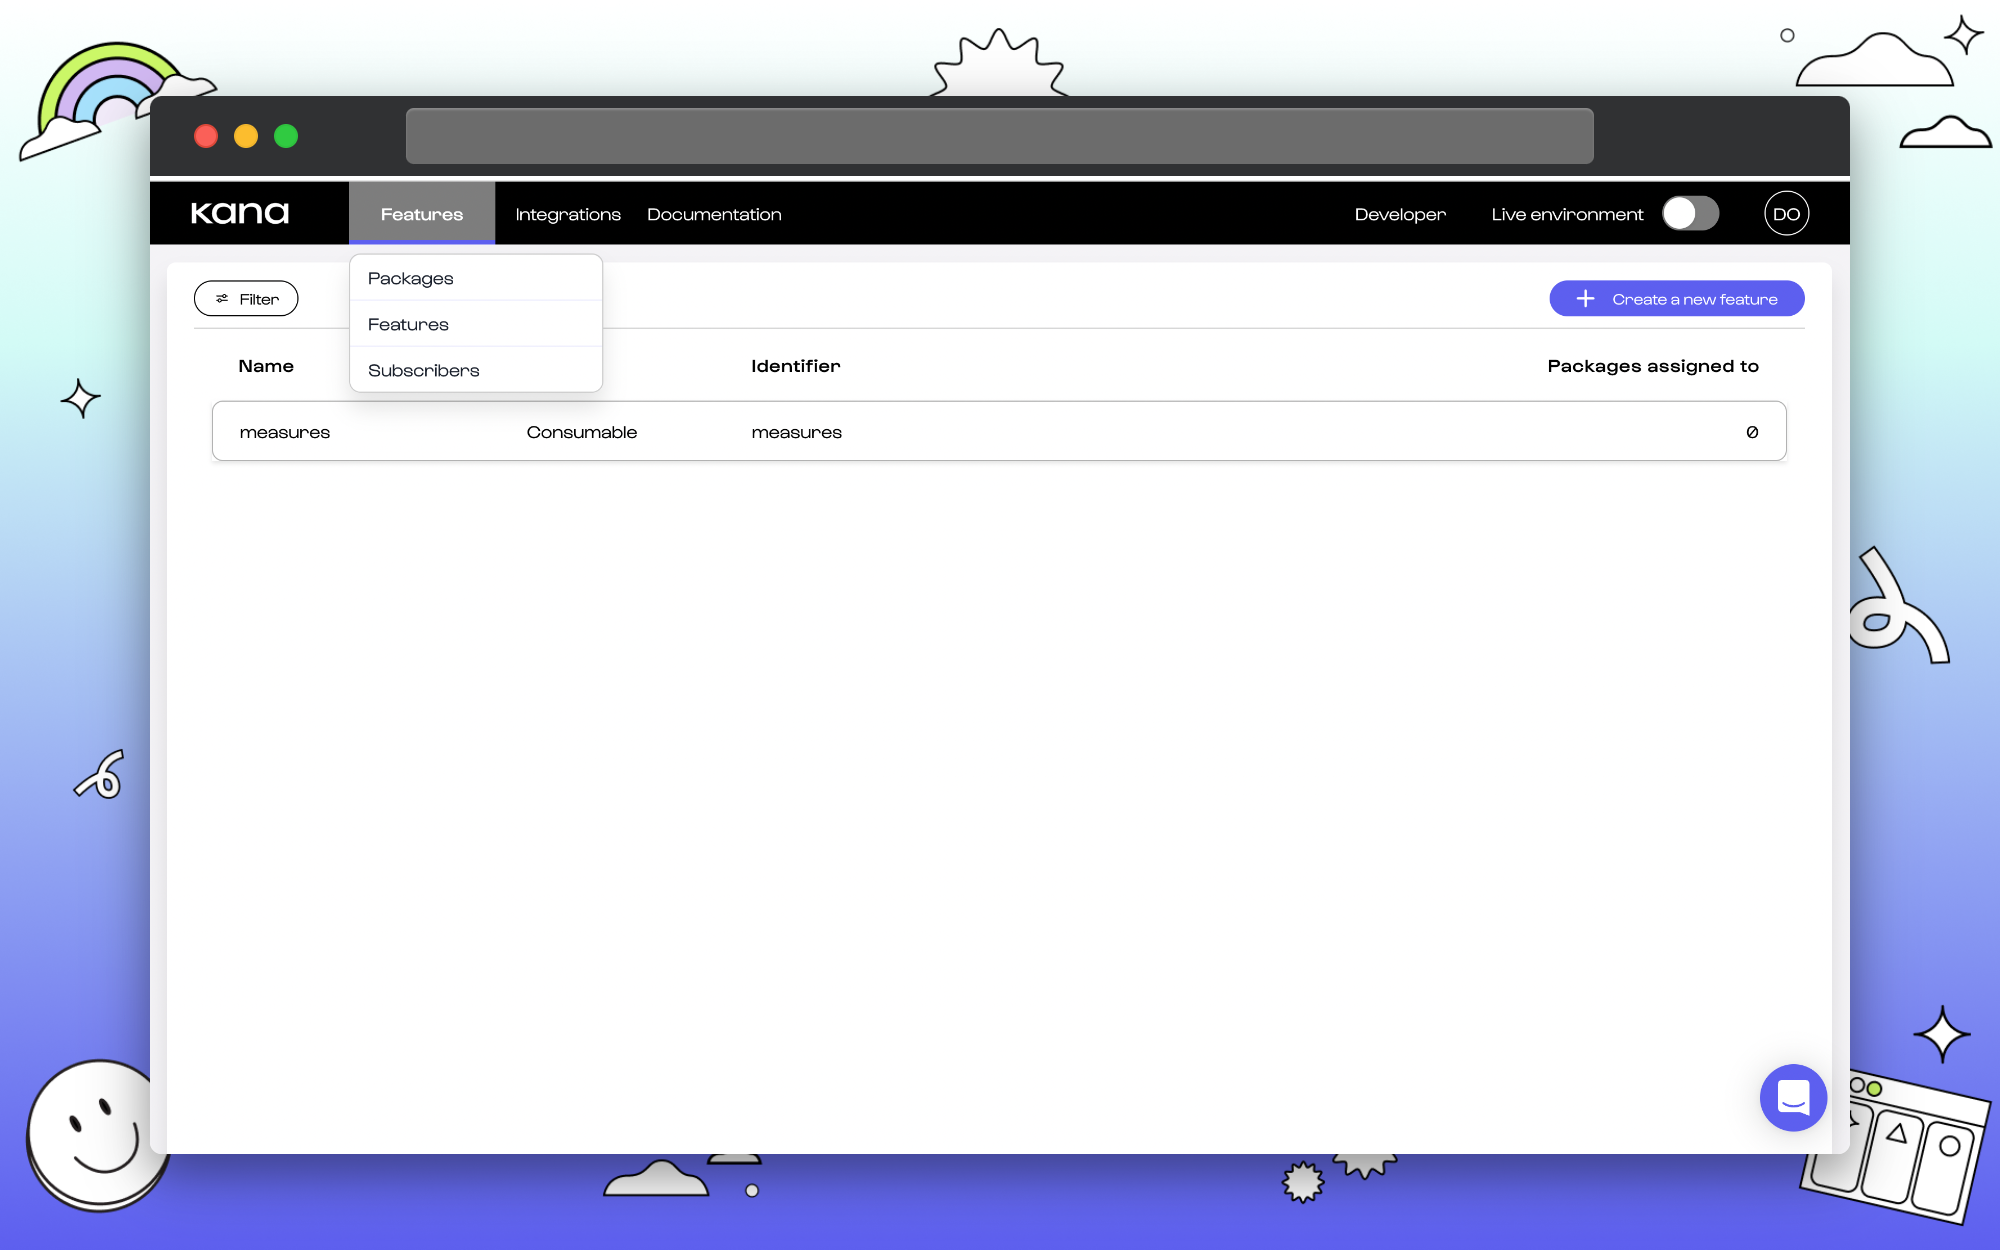
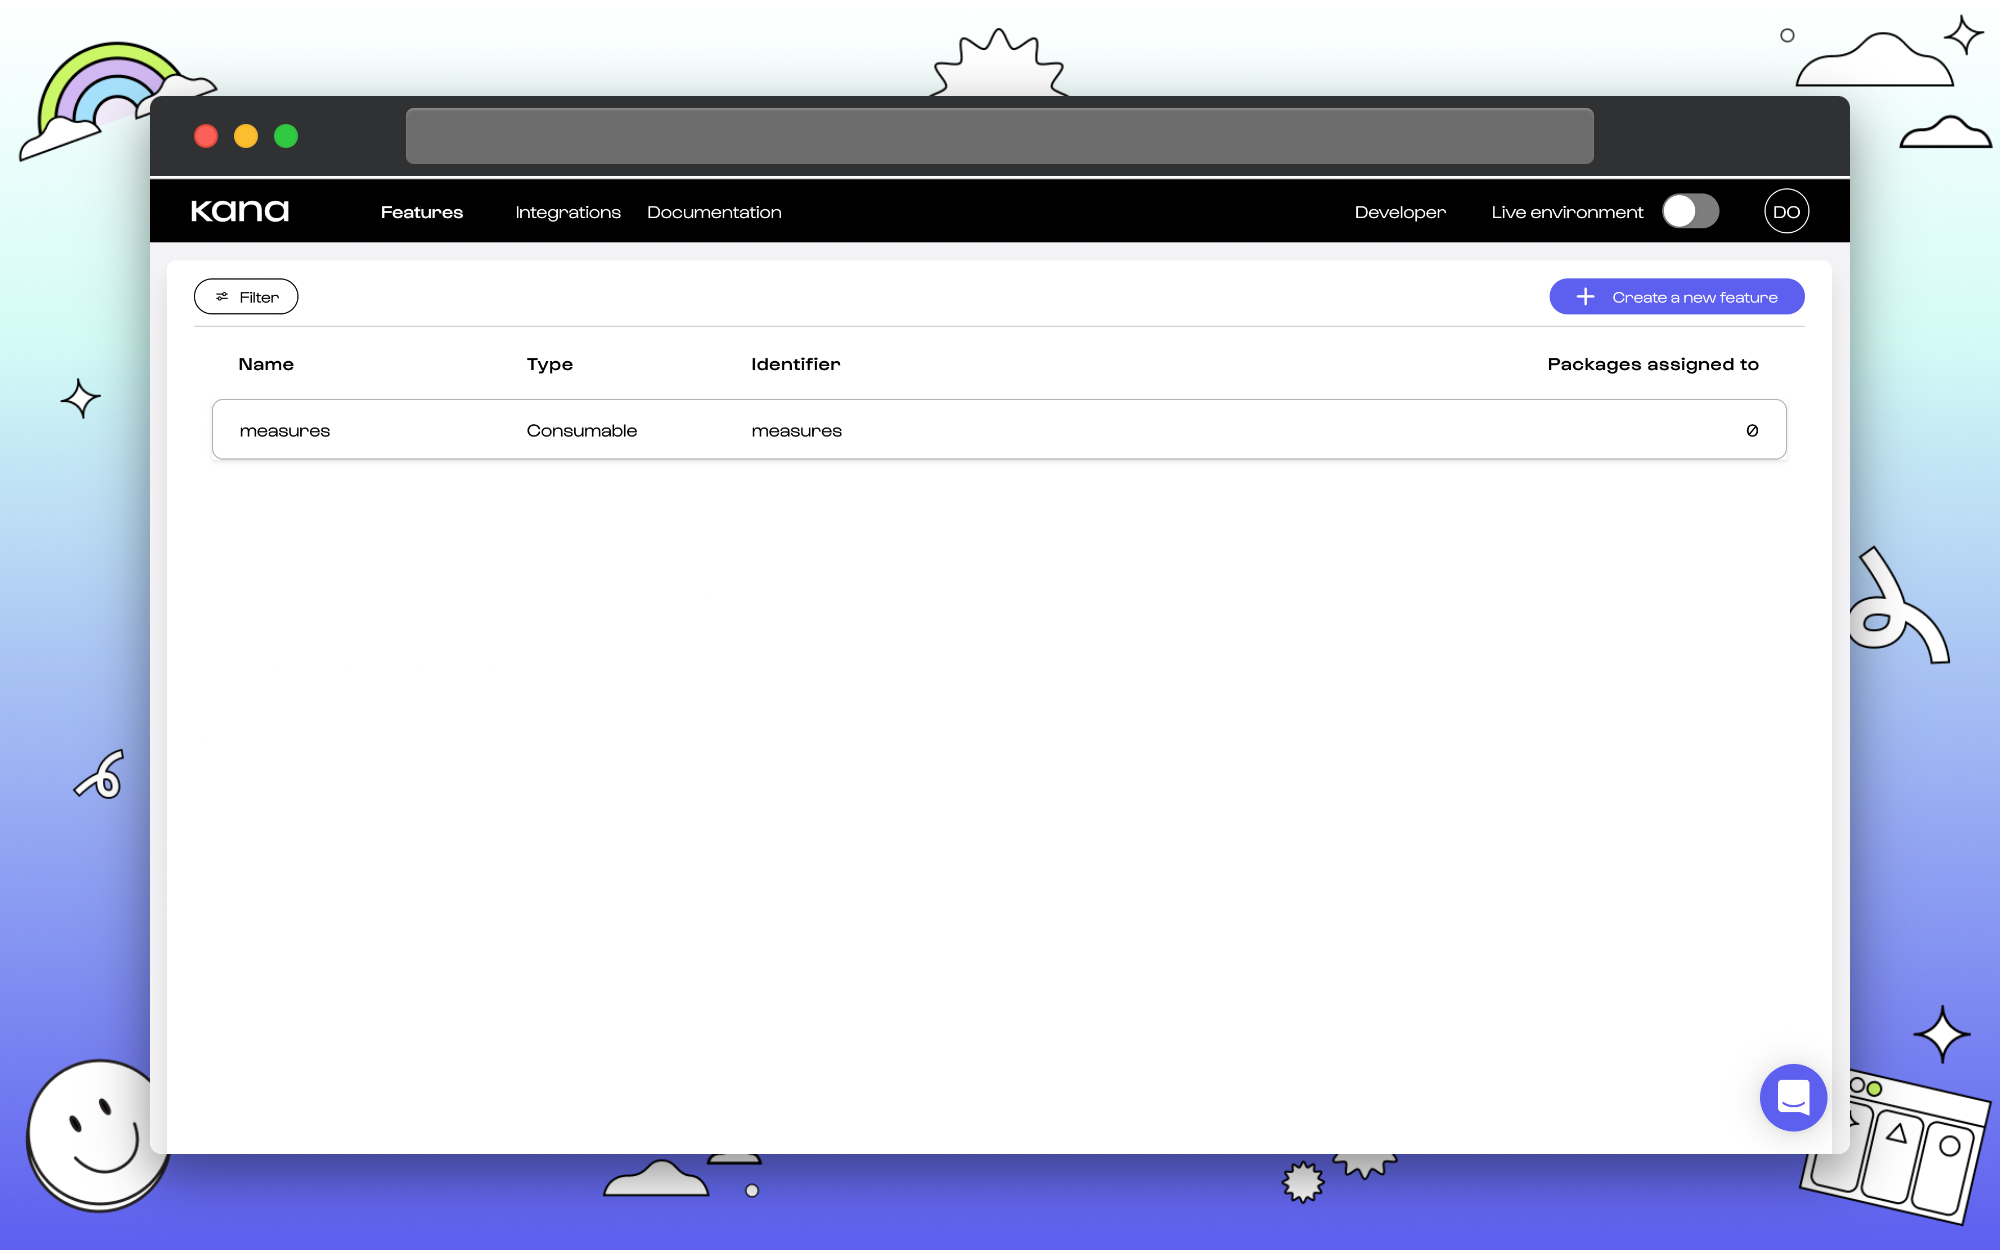
2. Select create a new feature.
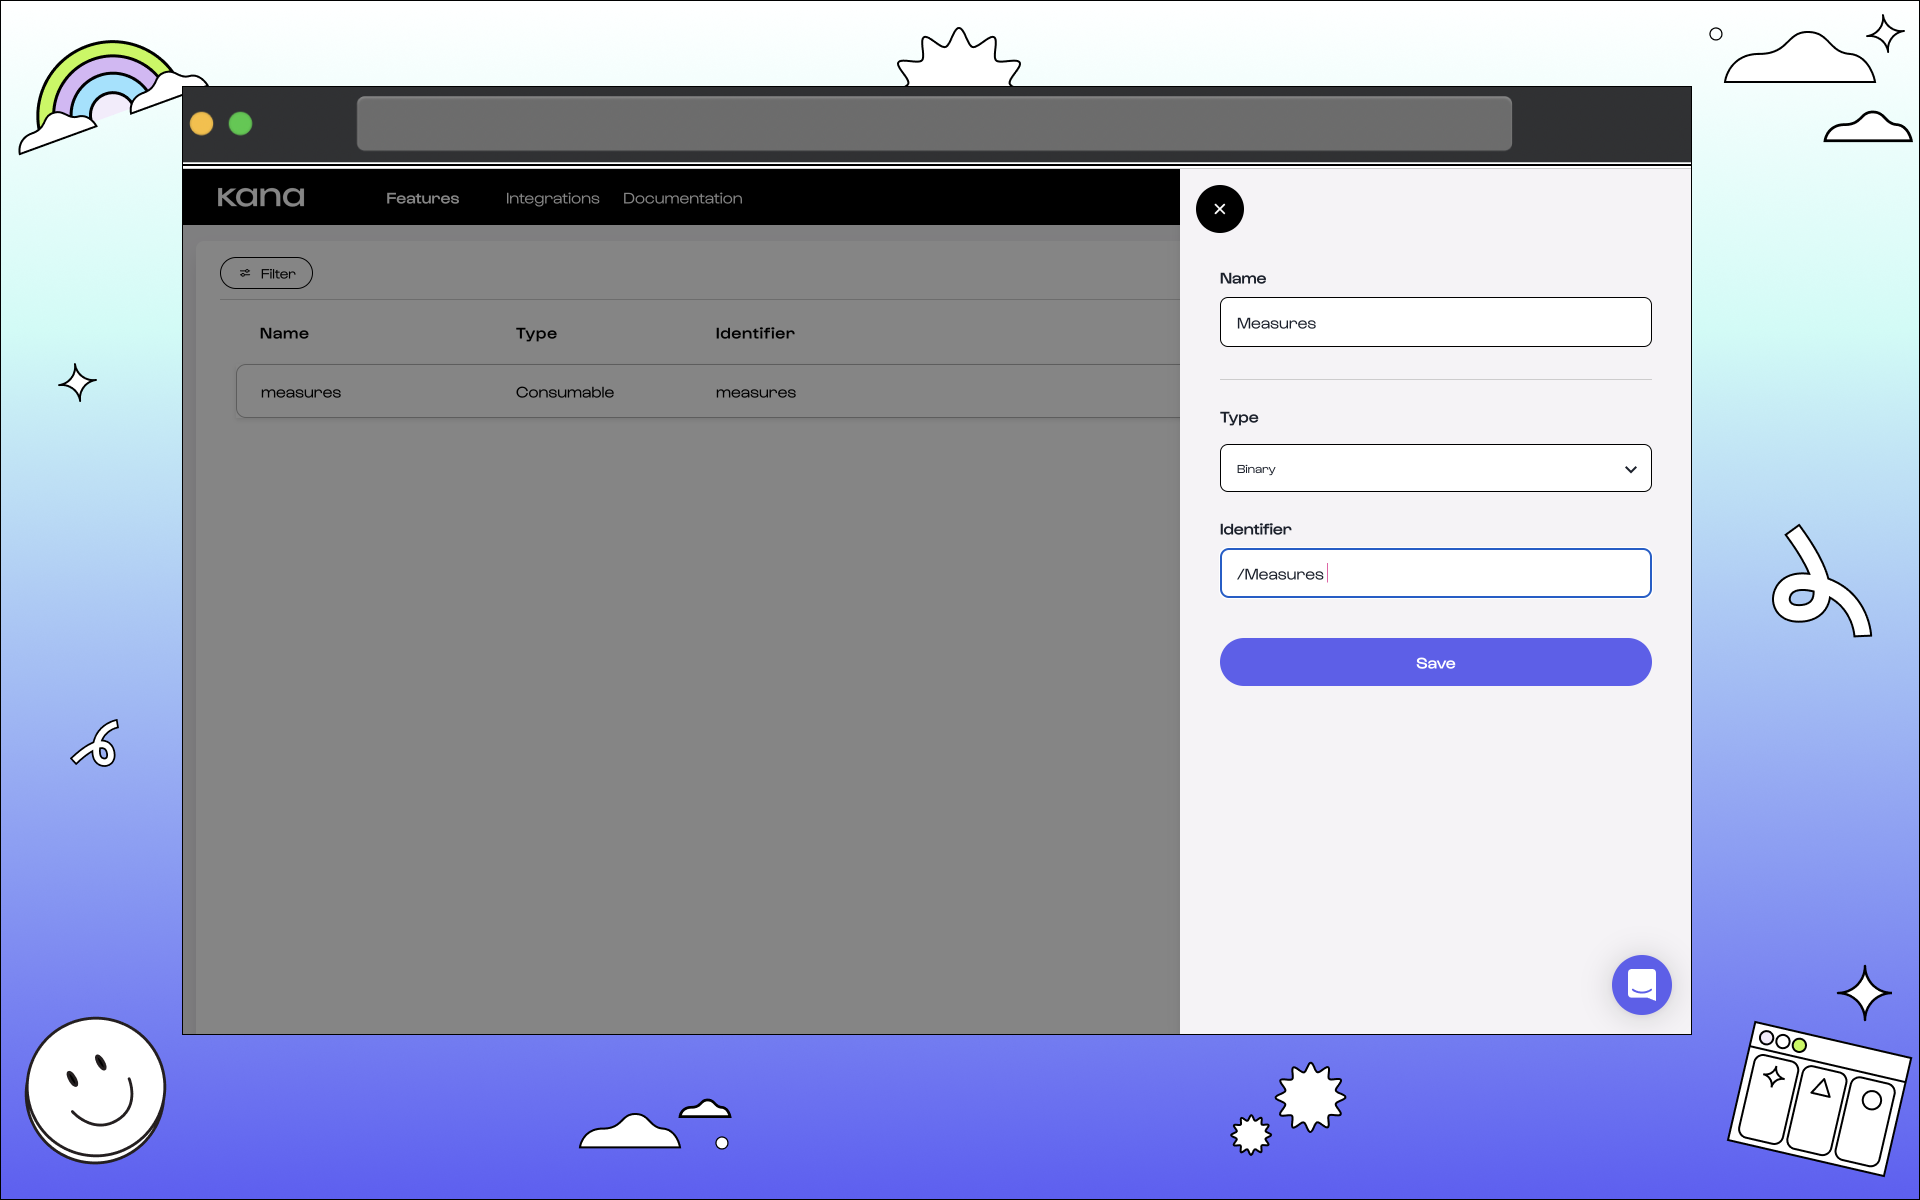
3. Fill in the details for your feature.
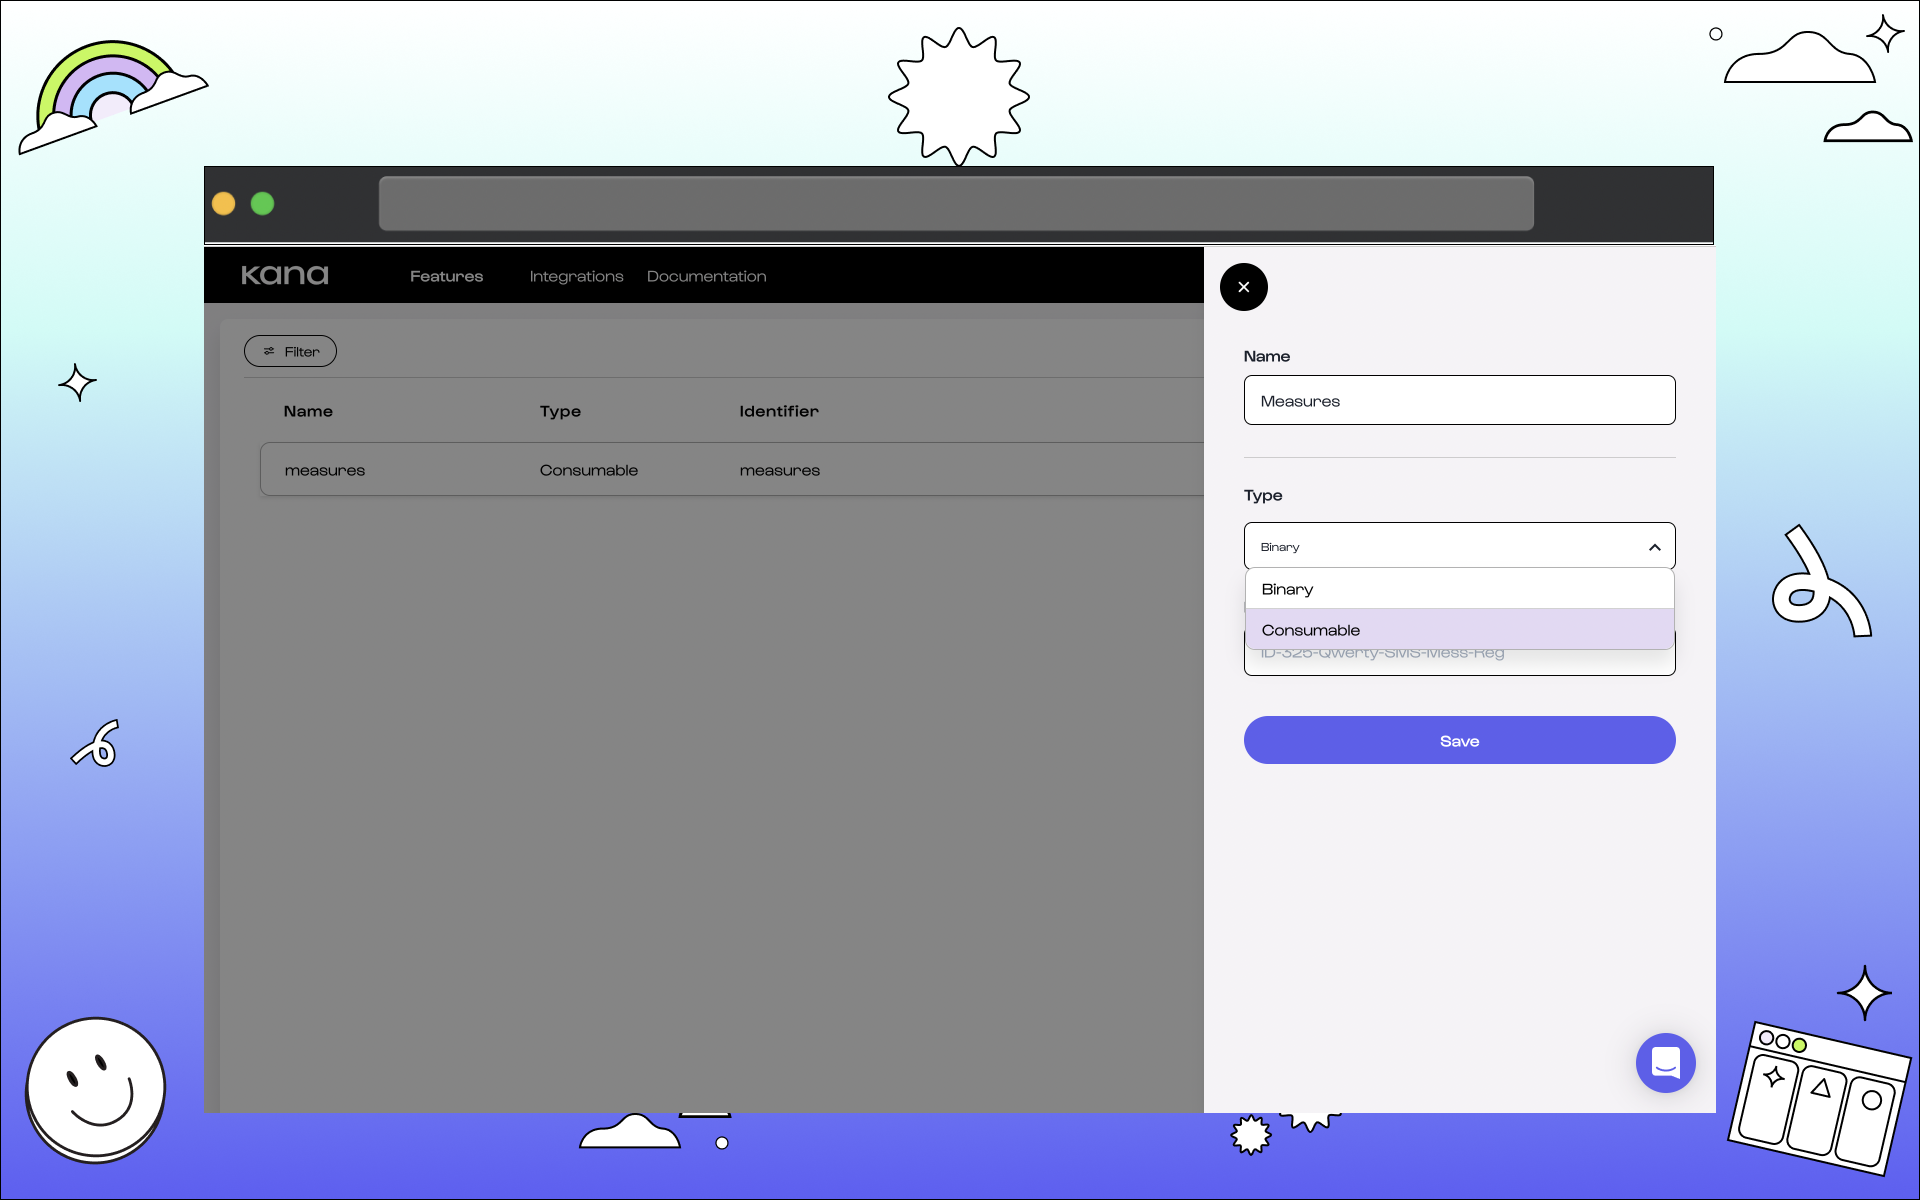
Name.
This is the name of the feature that will be visible on the Dashboard. Make it user-friendly. This is to enable it to read as you’d present to your users and so that it’s easily identifiable in the product later.Type.
This marks the type of feature. Select if it will be considered as a binary feature. Or, If it’s considered a consumable feature. Binary has no value but acts as a switch. Consumable is measured by unit. See more on feature types here.Identifier.
This is the unique identifier of the feature. When you integrate Kana into your product, this is theid that you will need to provide when making calls related to the feature. See more on the API Feature object here.
4. Click Save.
What next?
Congratulations 🎉 You’ve created a feature in Kana.