> ## Documentation Index
> Fetch the complete documentation index at: https://docs.usekana.com/llms.txt
> Use this file to discover all available pages before exploring further.
# Create new features
You can create features in the [Dashboard](https://dashboard.usekana.com/) within the [Features](https://dashboard.usekana.com/features) section.
You should ideally create new features in Kana whenever you add a new feature to your product.
## Steps
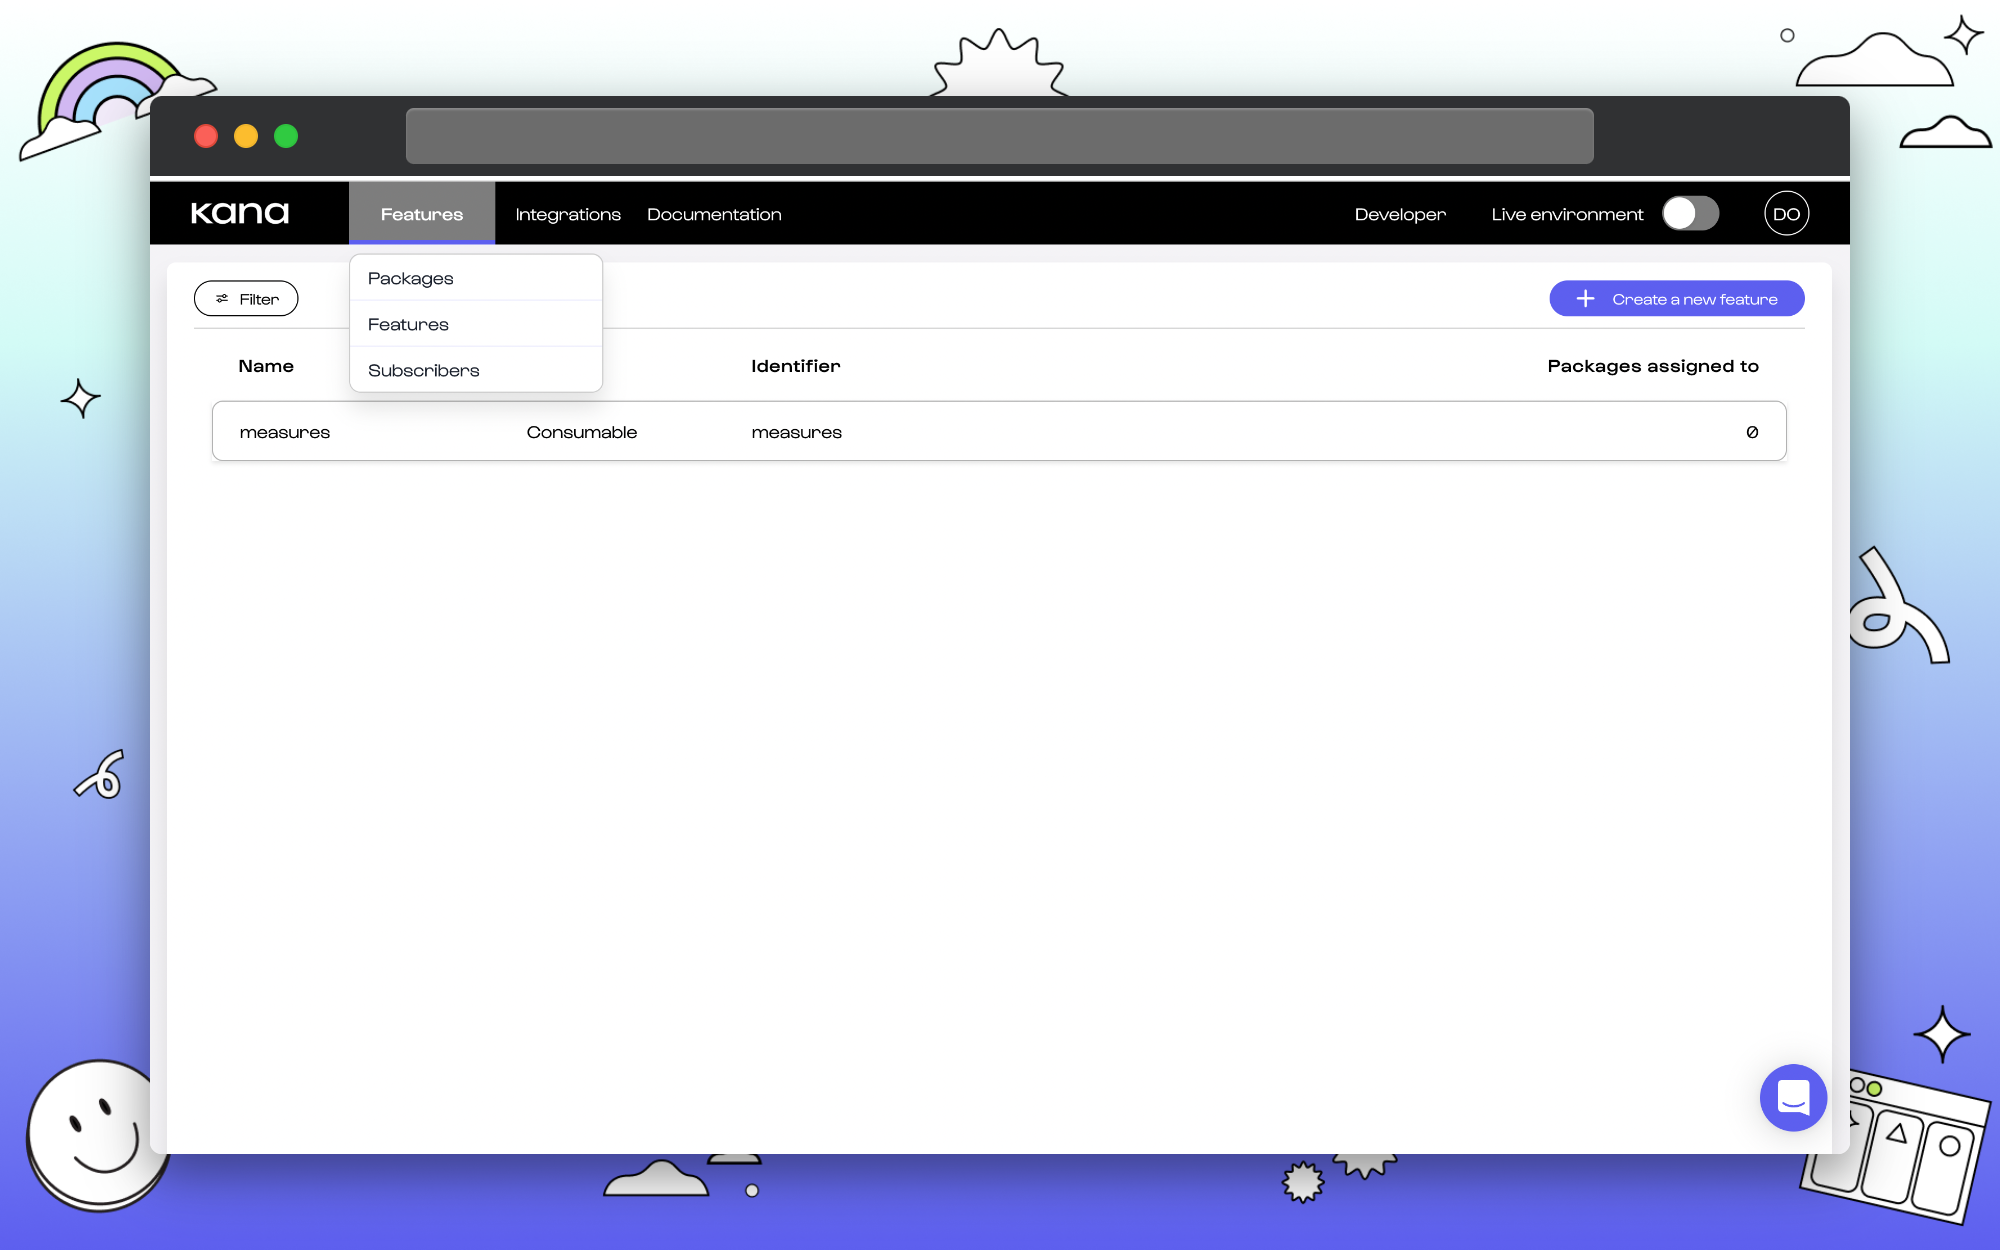
### 1. Select feature from the drop-down menu.
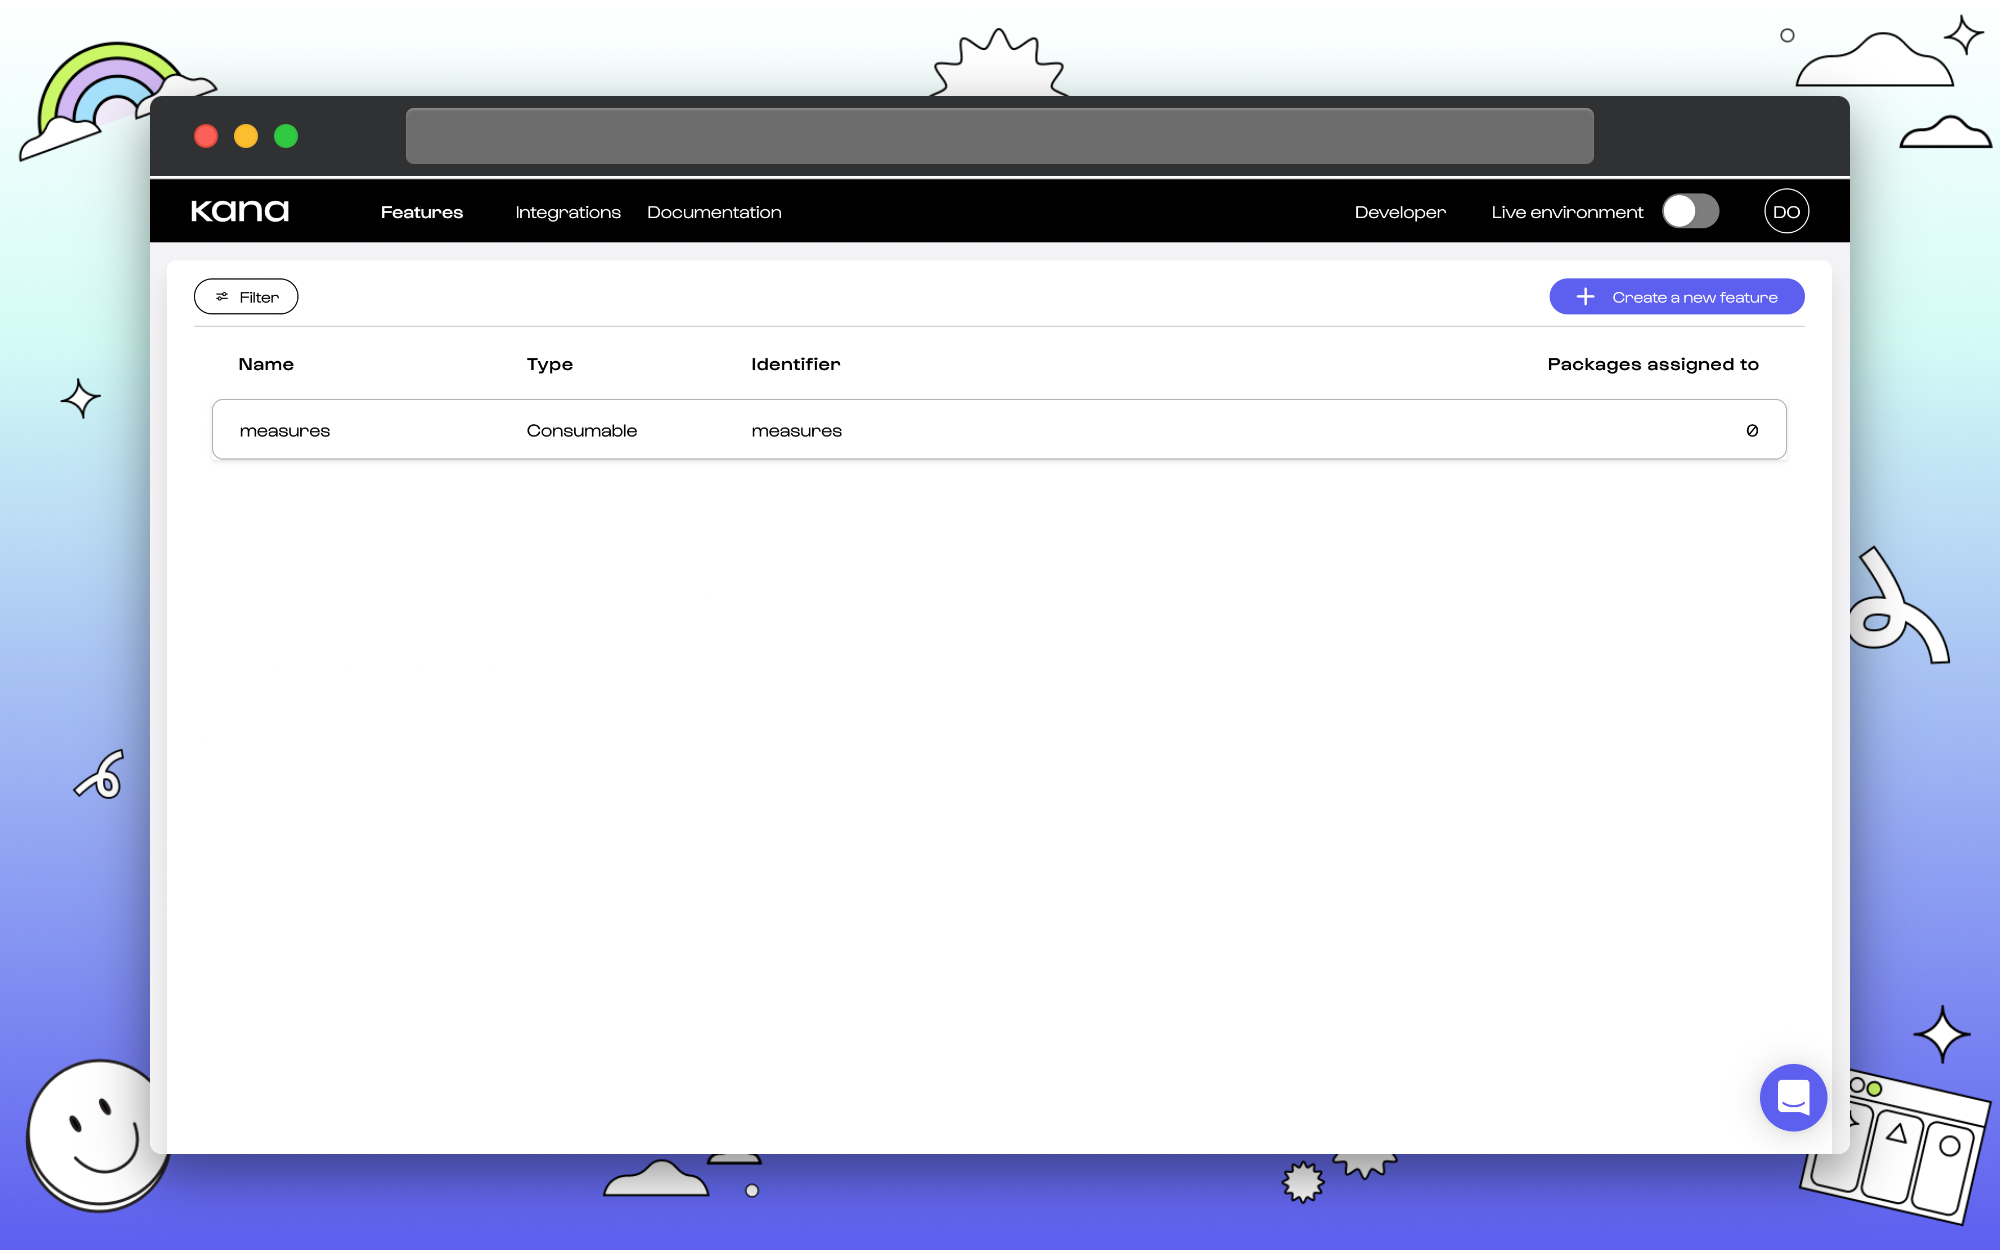
 ### 2. Select create a new feature.
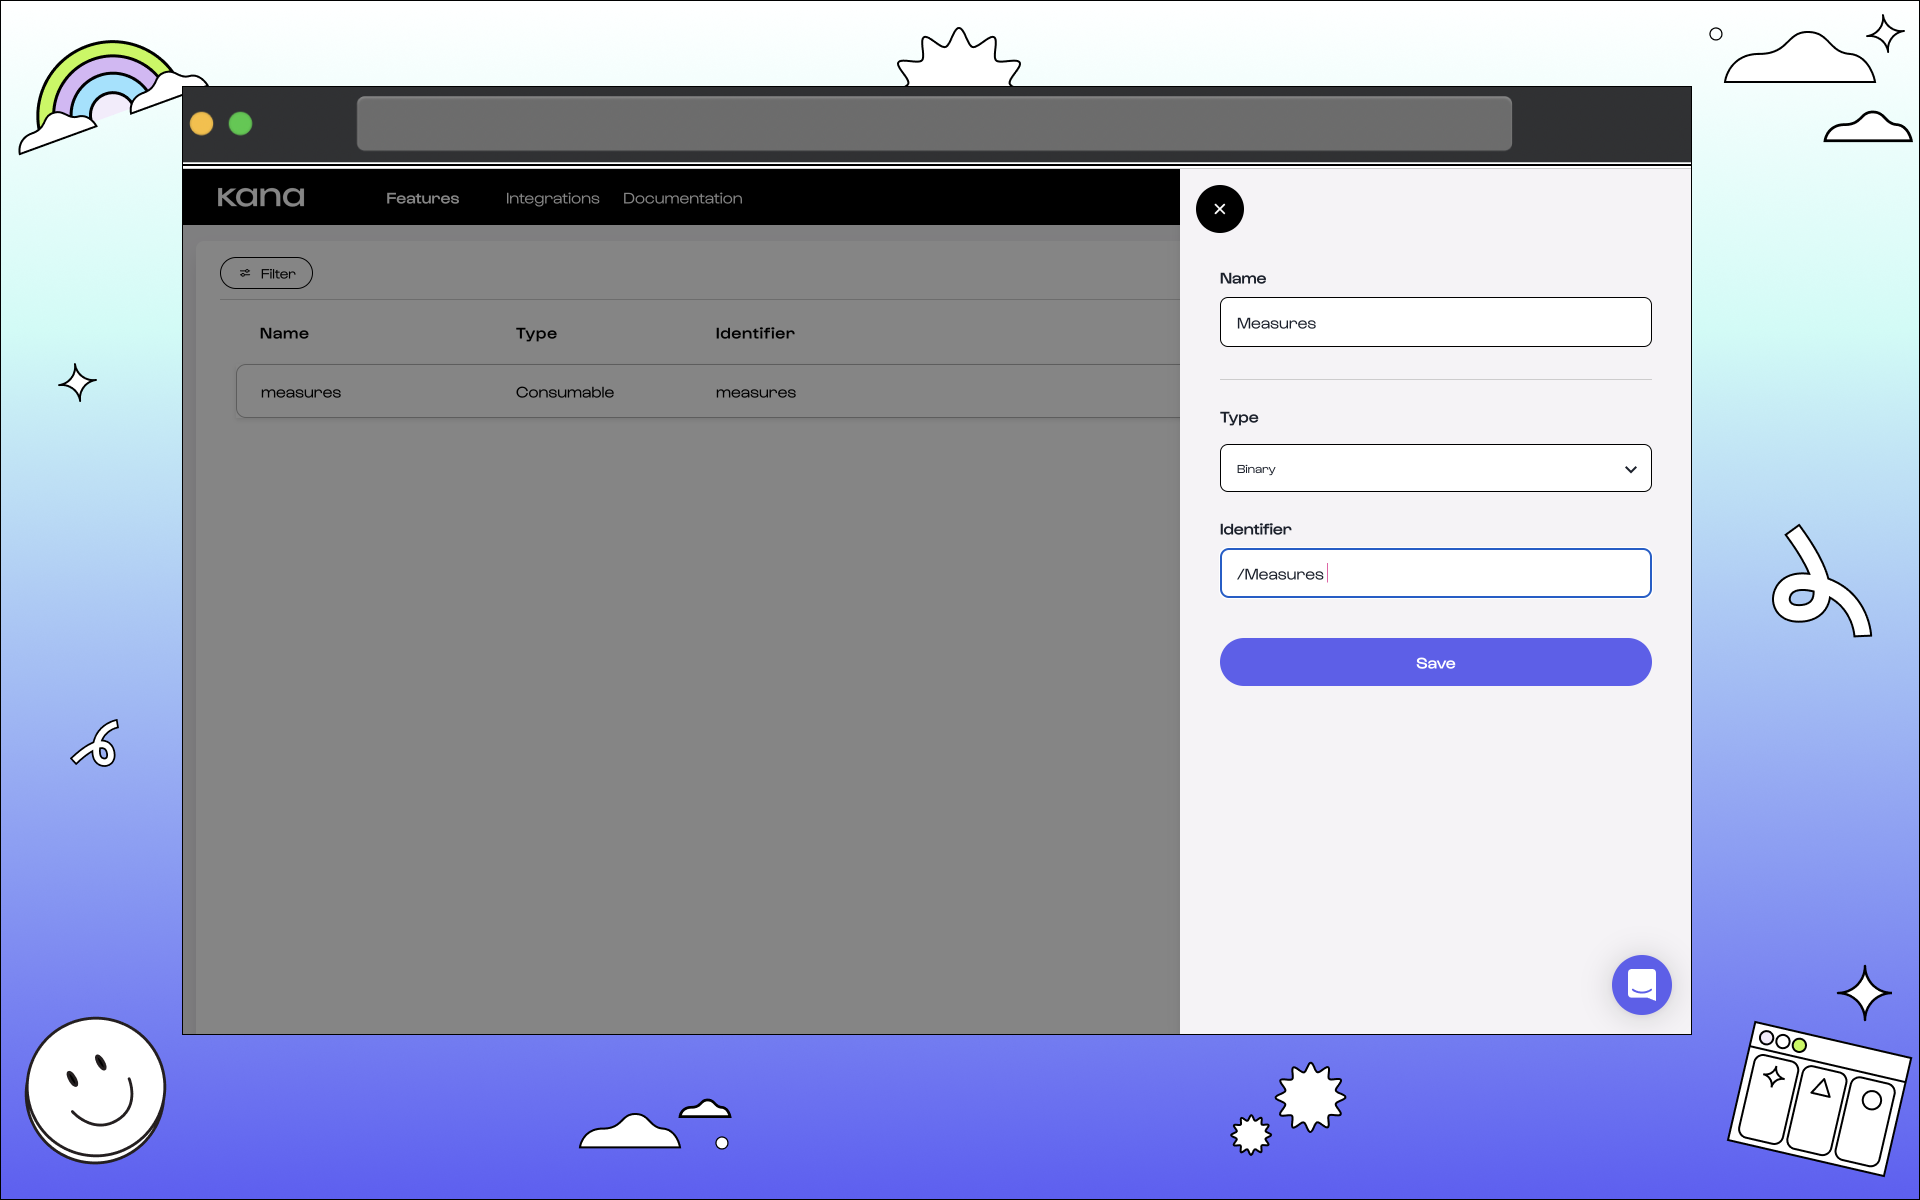
 ### 3. Fill in the details for your feature.
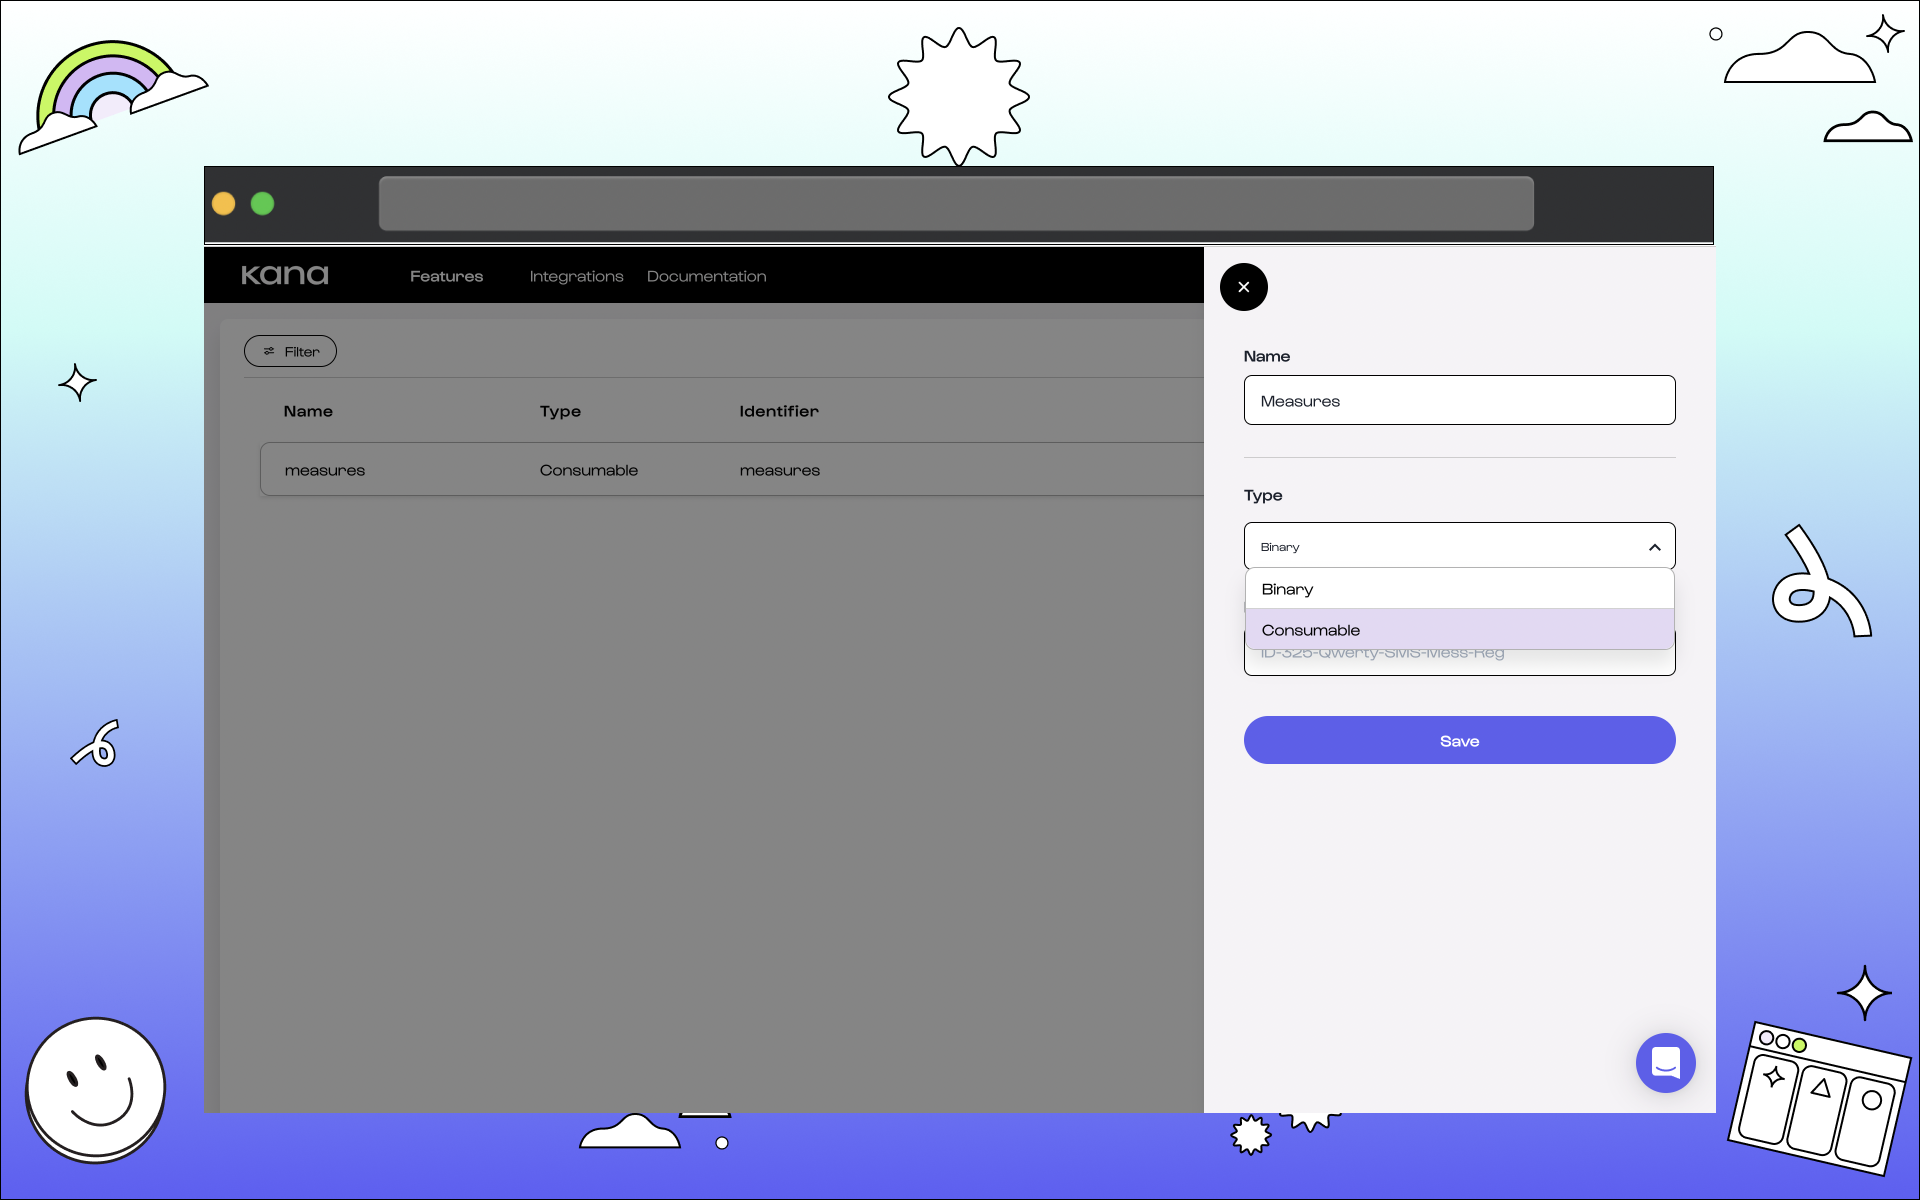 The following information is needed:
#### Name.
This is the name of the feature that will be visible on the Dashboard. Make it user-friendly. This is to enable it to read as you’d present to your users and so that it’s easily identifiable in the product later.
#### Type.
This marks the type of feature. Select if it will be considered as a *binary* feature. Or, If it’s considered a *consumable* feature. Binary has no value but acts as a switch. Consumable is measured by unit. [See more on feature types here](/non-technical/features/what-are-features#feature-type).
#### Identifier.
This is the unique identifier of the feature. When you integrate Kana into your product, this is the `id` that you will need to provide when making calls related to the feature. [See more on the API Feature object here](/reference/admin-api-backend-reference/objects#feature).
### 4. Click Save.
The following information is needed:
#### Name.
This is the name of the feature that will be visible on the Dashboard. Make it user-friendly. This is to enable it to read as you’d present to your users and so that it’s easily identifiable in the product later.
#### Type.
This marks the type of feature. Select if it will be considered as a *binary* feature. Or, If it’s considered a *consumable* feature. Binary has no value but acts as a switch. Consumable is measured by unit. [See more on feature types here](/non-technical/features/what-are-features#feature-type).
#### Identifier.
This is the unique identifier of the feature. When you integrate Kana into your product, this is the `id` that you will need to provide when making calls related to the feature. [See more on the API Feature object here](/reference/admin-api-backend-reference/objects#feature).
### 4. Click Save.
 ## What next?
**Congratulations** 🎉 You've created a feature in Kana.
You should now see your feature in Kana and be able to edit it. You can also add the feature to a package. See more in our guides:
## What next?
**Congratulations** 🎉 You've created a feature in Kana.
You should now see your feature in Kana and be able to edit it. You can also add the feature to a package. See more in our guides: